...
...

Select the “Start Recording” option in the menu that appears.
...
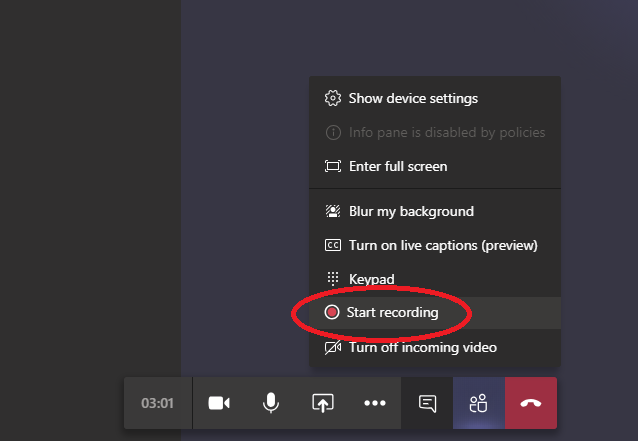
Recording will end once the meeting has concluded or when you return to option menu and press the “Stop Recording” option.
View and share recordings
Log in to portal.office.com with your eName@colostate.edu and password.
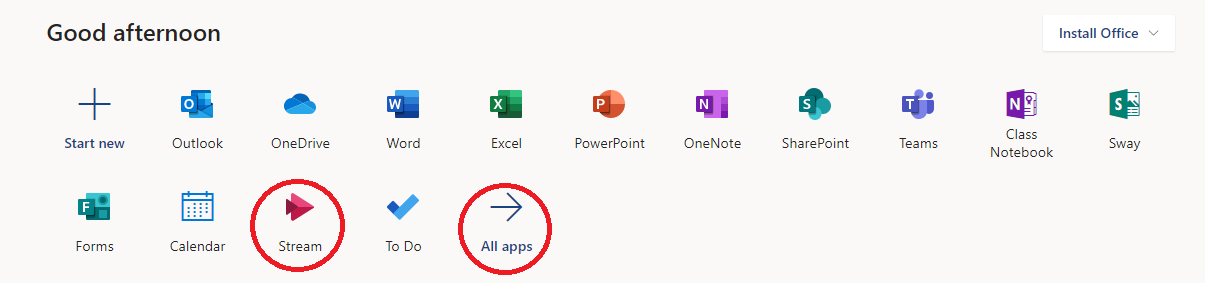
Select “Stream” from the list of icons. If it is not listed there you may need to select “All Apps” and then find “Stream” in the list that appears.
...
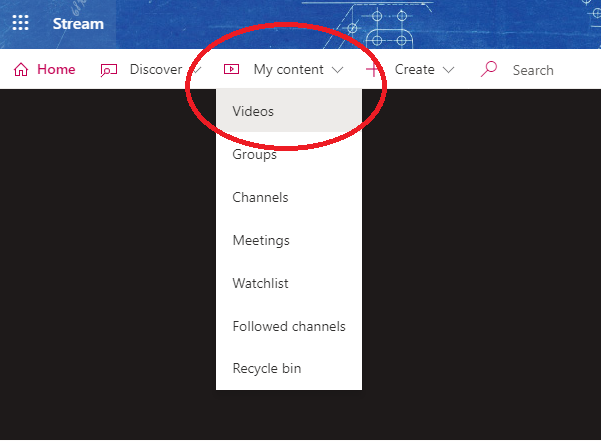
Select “My content” in the top left of this page and then select “Videos”
...
Your videos appear in this list. To share a link to this video, select the option button to the right of your video and select “Share”
...
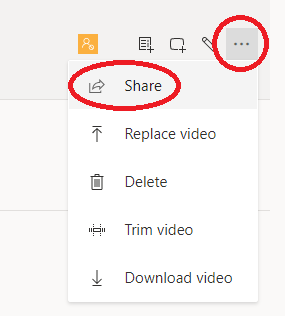
You will be given several different options for sharing. You can select Email to send it through the mail system, or you can copy a direct link to the video, which can be shared with anyone or even posted in a Canvas page!
Modify permissions to view the video
Log in to portal.office.com with your eName@colostate.edu and password.
Select “Stream” from the list of icons. If it is not listed there you may need to select “All Apps” and then find “Stream” in the list that appears.
Select “My content” in the top left of this page and then select “Videos”
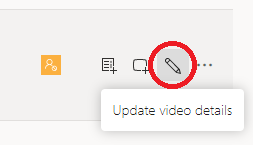
Your videos appear in this list. To view or modify who access access to view this video, select the pencil button to the right of your video.
...
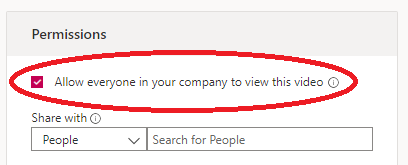
To allow everyone at CSU to view the video, click this checkbox:
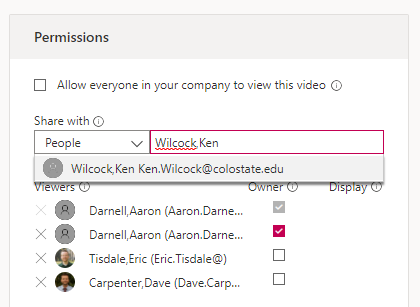
To only allow specific people or a class to view the video
Change the drop down box to “People”
Type in their email address or their name in the format of “Last Name,First Name”
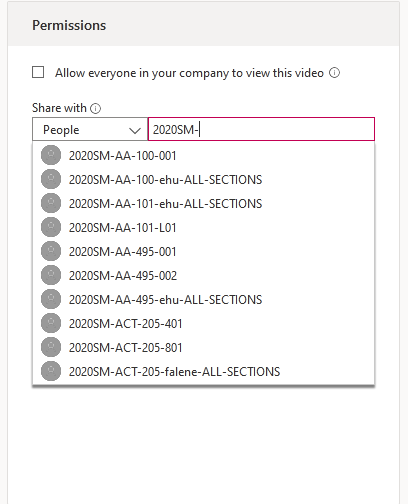
For a class enter the name of the course exactly as it appears in Canvas.
...
When you’re finished, press the Apply button above the Permissions area:
...
| Info |
|---|
If you have questions not answered in this guide or need additional support, please contact the CHHS Helpdesk at chhshelpdesk@colostate.edu |
In This Article
| Table of Contents | ||
|---|---|---|
|