How to Connect to Citrix using an internet browser
Open a web browser and navigate to citrix.chhs.colostate.edu
Log in with your eName and password
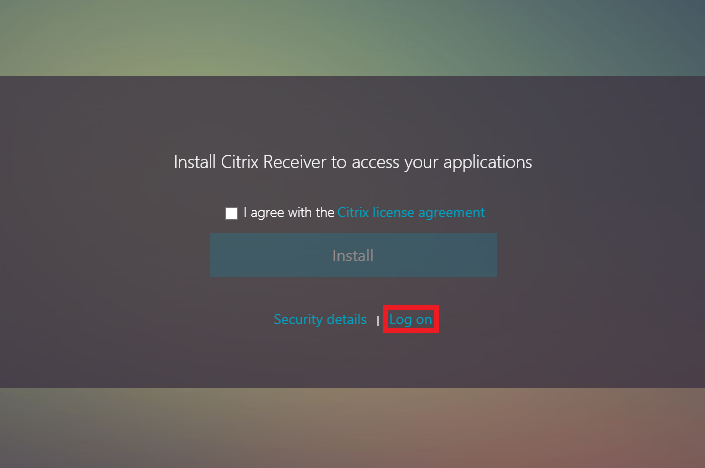
When asked to install Citrix Receiver select the “Log on” option in the lower right corner
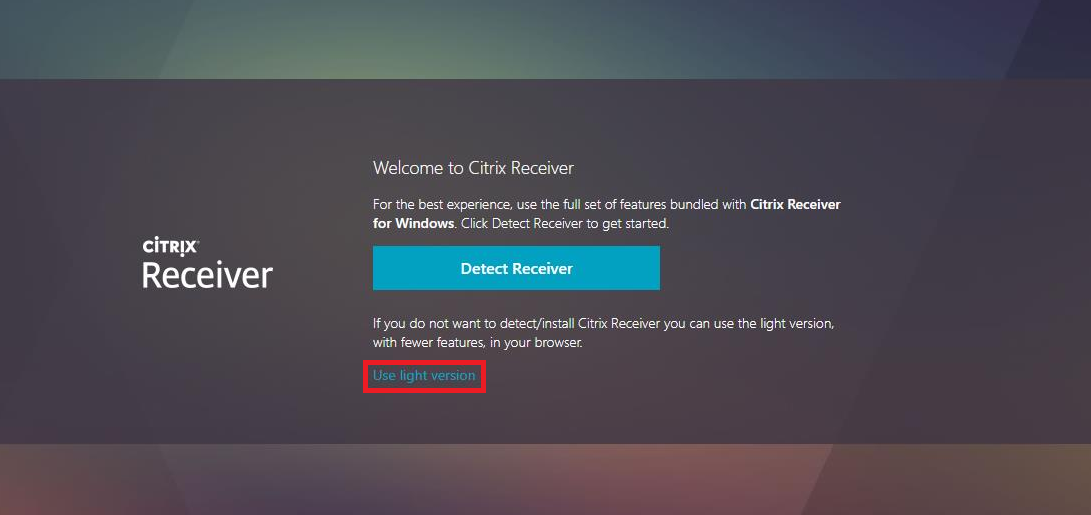
You may also see this screen. Select “Use light version”
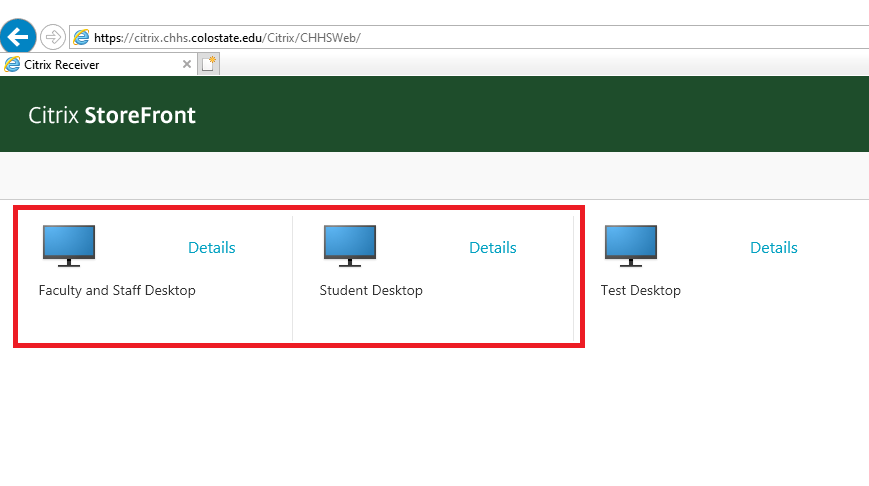
Click on a desktop to launch your Citrix connection
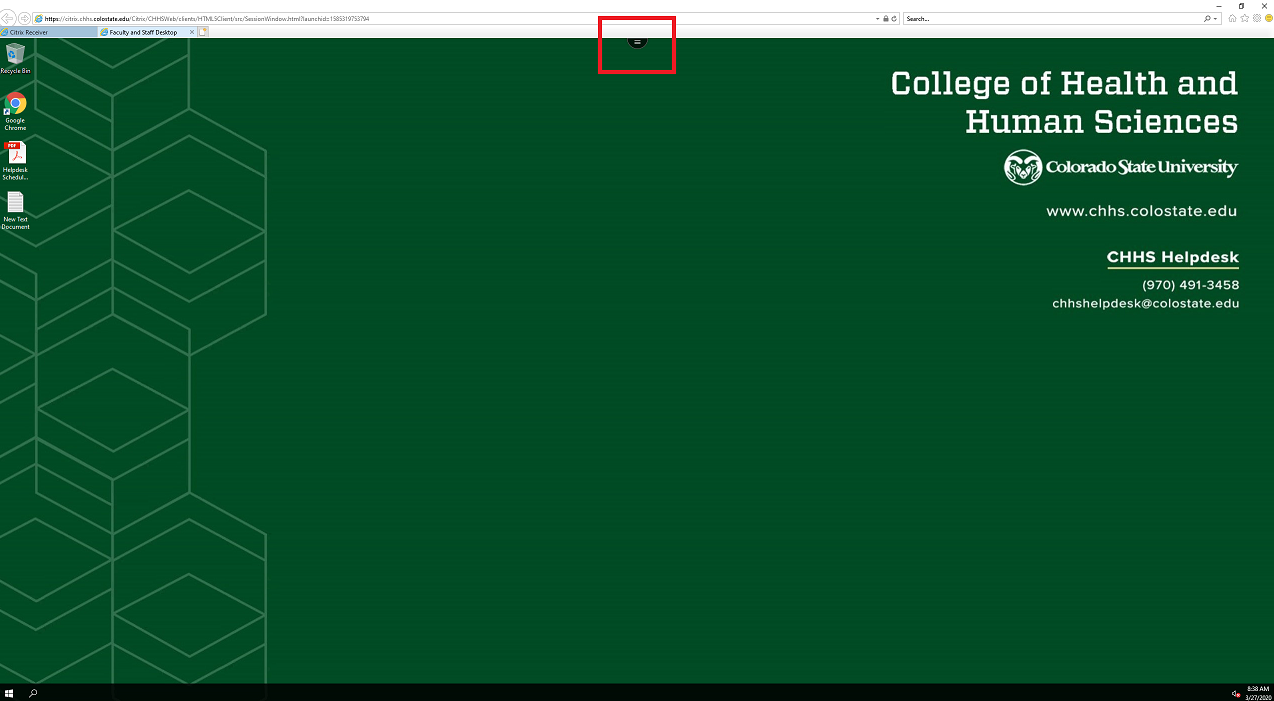
The Citrix desktop will open within a new tab in your browser.
How to upload and download files from your local computer in Citrix Light version
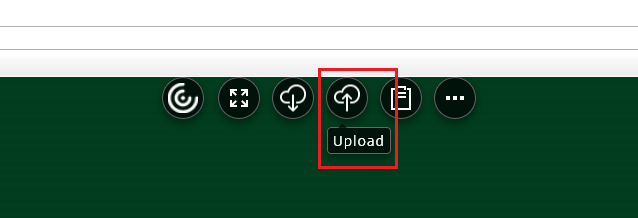
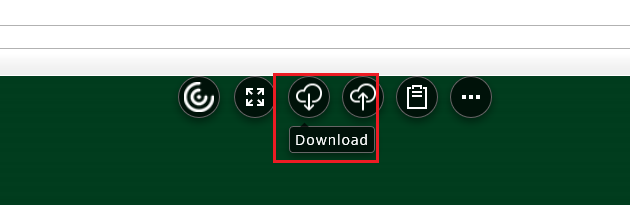
Once logged in and using Citrix mouse over and click on the options icon
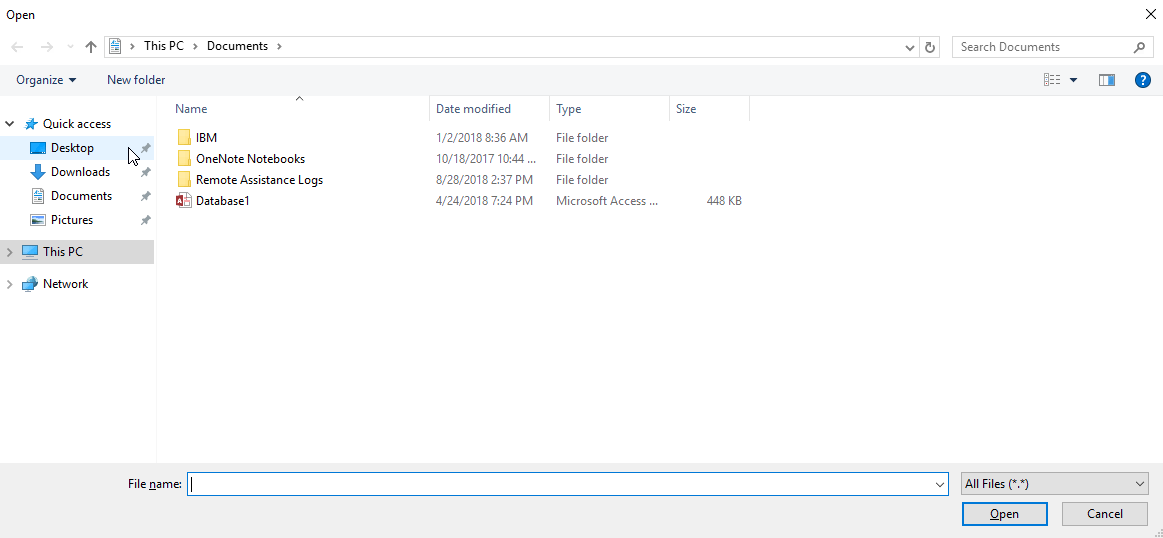
To Upload A File
To upload files from your local computer to work on in Citrix click the “Upload” option
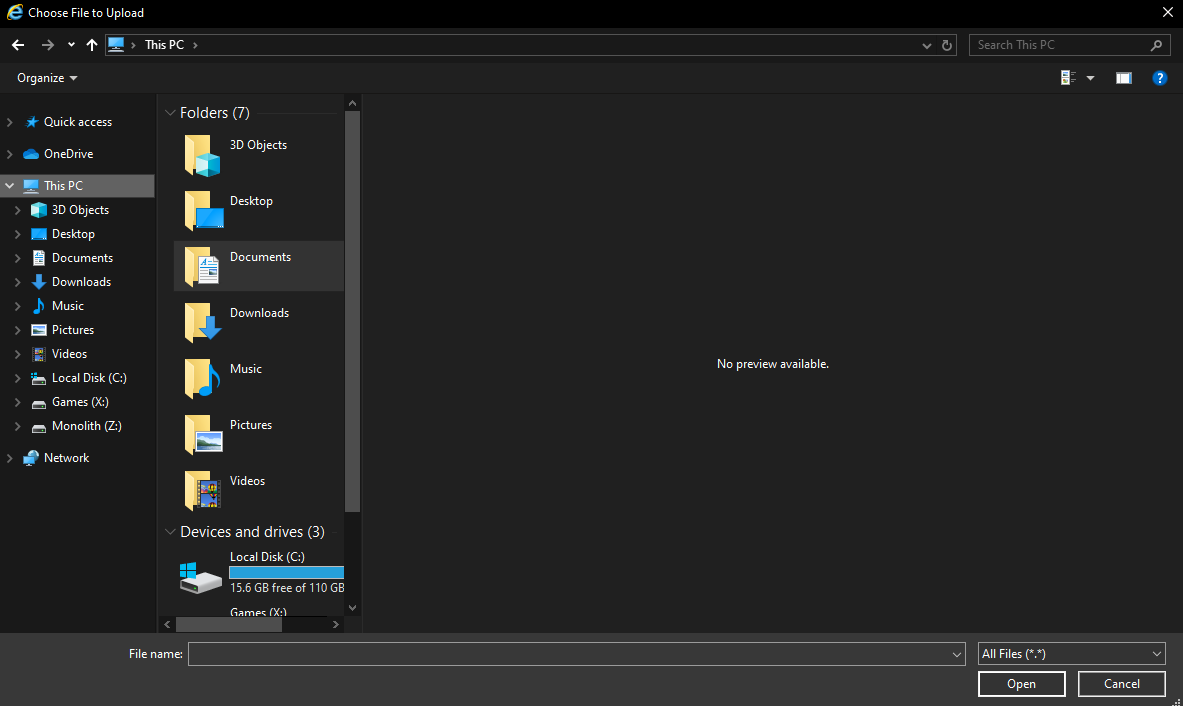
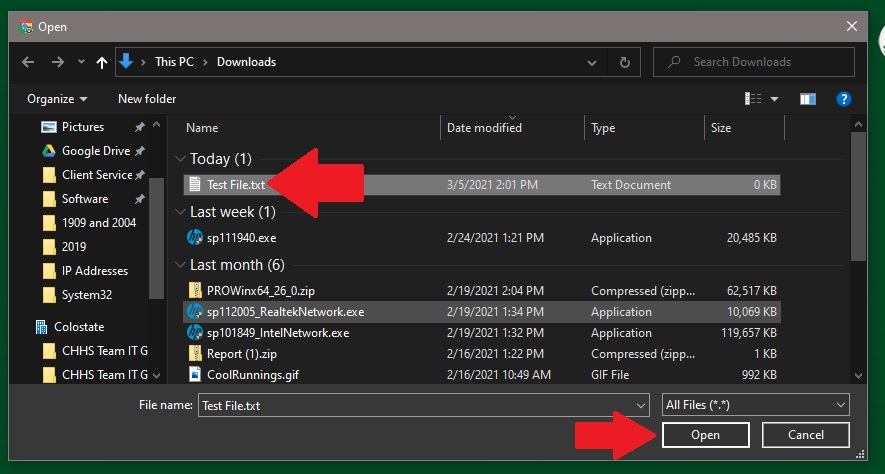
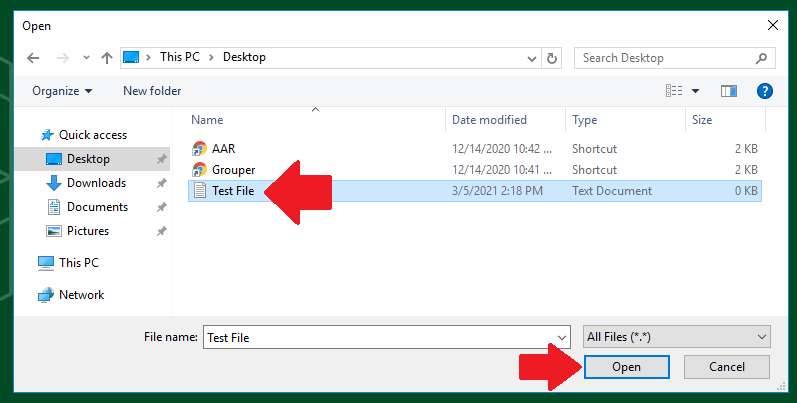
Navigate to the file you need, select it, and click “Open”
You may then get a message telling you to select a different folder, as you cannot save to the “default” user folder
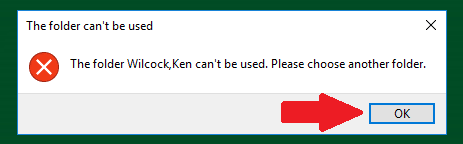
At that point you can either choose to save the file to your Desktop
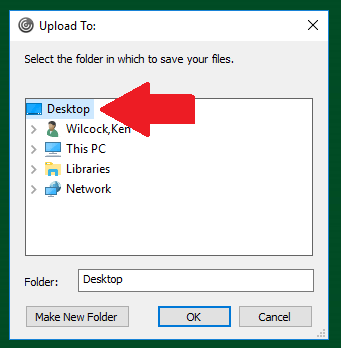
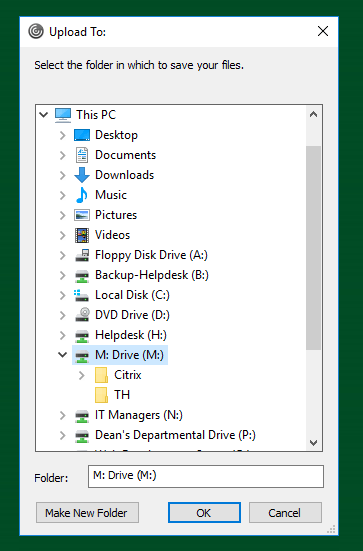
Or navigate down This PC to your M drive (or another network drive) to save the file there.
Once you have selected a destination location, click OK. After a few seconds (sometimes slightly longer depending on file size and your internet connection speed) the file will be in the destination location you chose.
To Download a File
To download files from Citrix to work on with your local computer click the “Download” option
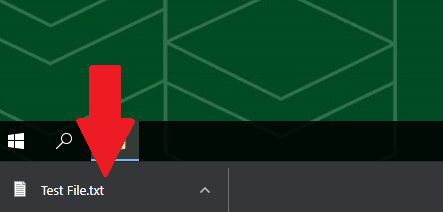
Navigate to the file you want to download. Select it, and click open. It will be downloaded to your local computer.
| Info |
|---|
If you have any questions or issues with this guide, please contact the CHHS Helpdesk at chhshelpdesk@colostate.edu. |
In This Article
| Table of Contents | ||
|---|---|---|
|
Related Resources
Overview of Citrix: Citrix
CHHS Citrix web page: citrix.chhs.colostate.edu